

Zurück zum Blog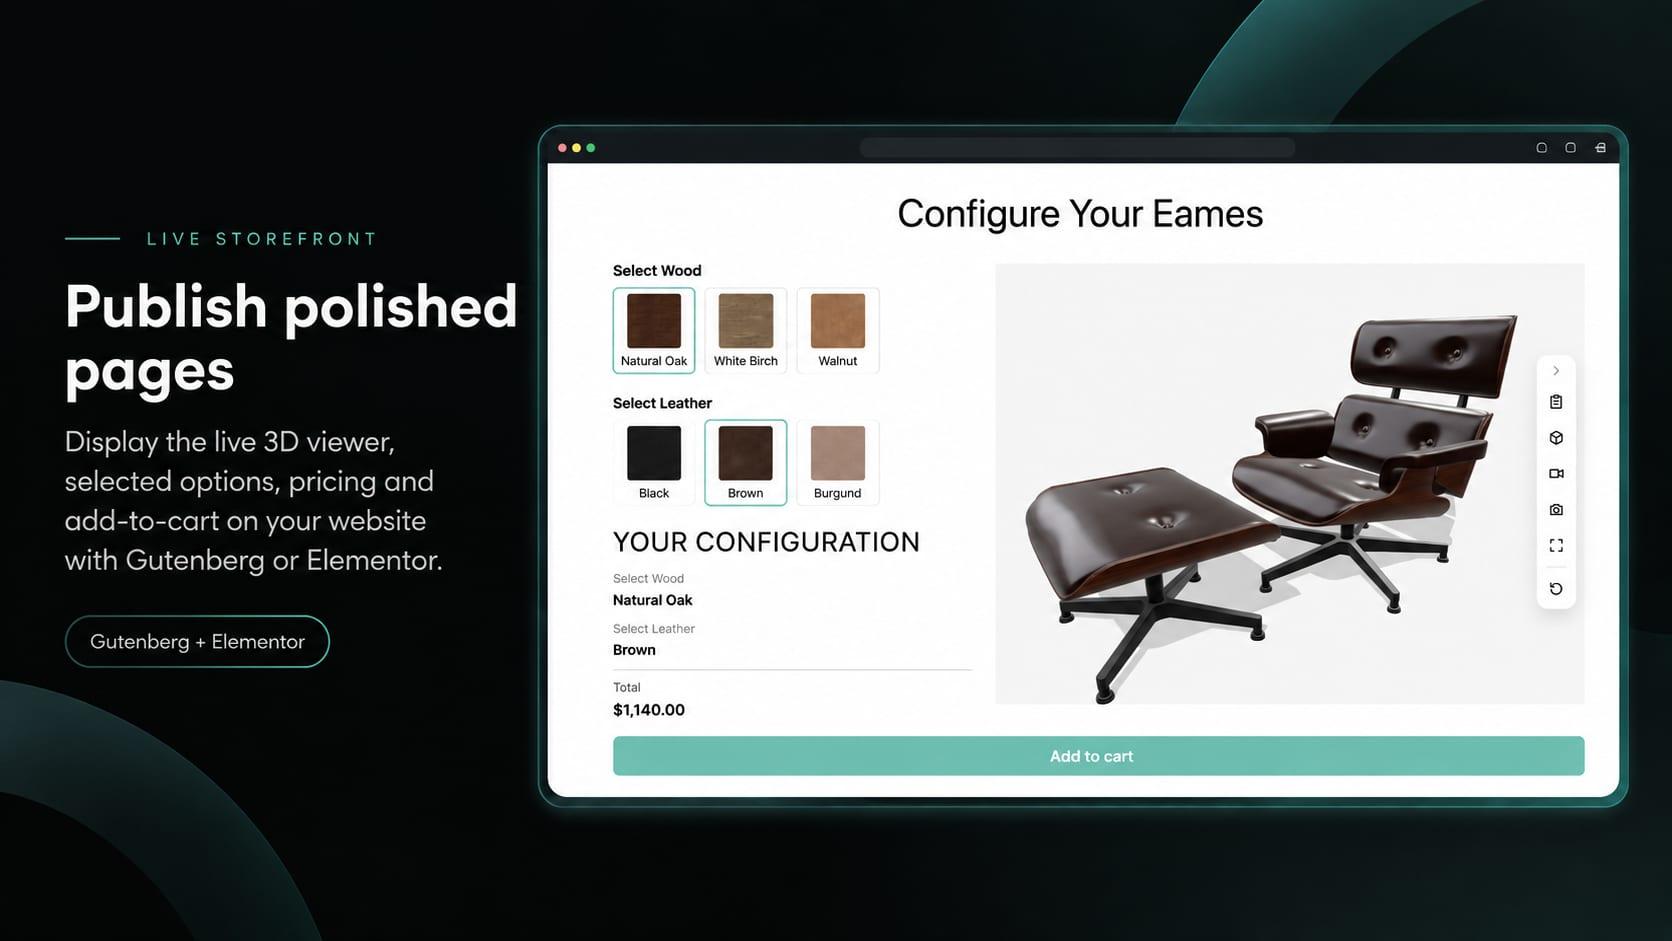
wordpresselementortutorialwoocommerce
How to Use the Simplio3D WordPress Plugin in Elementor
Simplio3D·
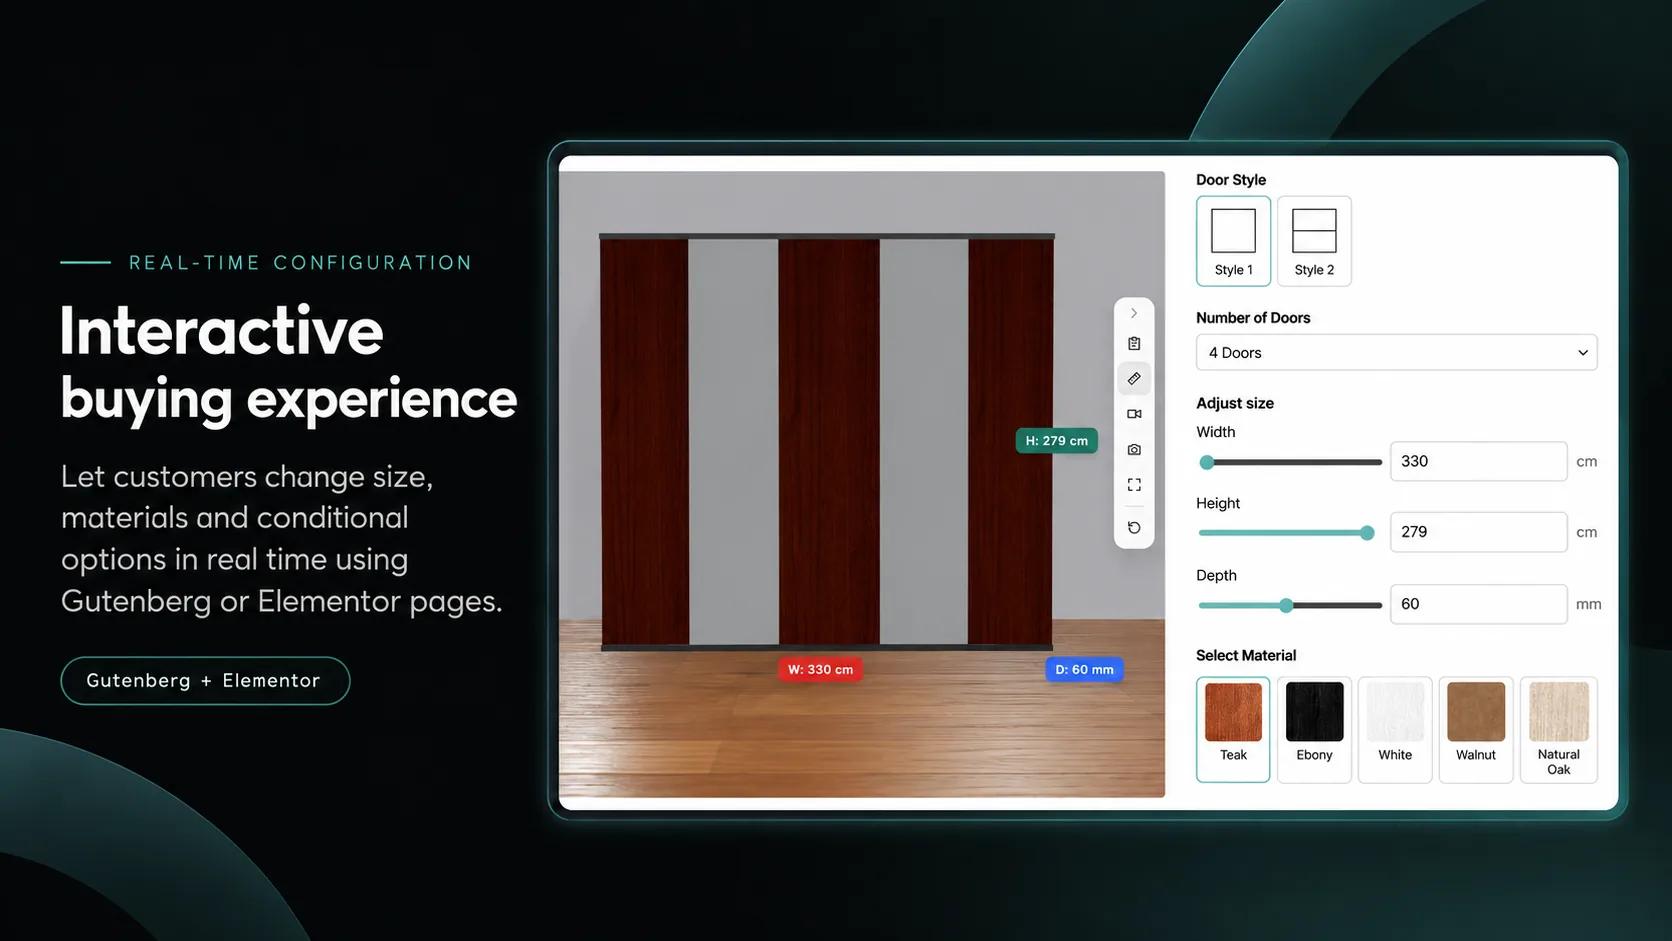
The Simplio3D WordPress plugin has no separate Elementor widgets, and it doesn’t need them. Every Simplio3D block is also a shortcode, and you place it with Elementor’s own Shortcode widget, one widget per block. The shortcode prints exactly what the block prints, so a product configurator in Elementor works just like one built in the WordPress block editor: one live configuration shared by every widget, the 3D toolbar, dimensions, AR, the live price, the summary, quote requests and the WooCommerce cart.
This guide covers the short path: find your ids, build the layout, add to cart, and fix the usual mistakes. It is written for plugin version 2.0.3 and works with the free version of Elementor.
Each one goes in its own Elementor Shortcode widget. Replace PROJECT-ID and OPTION-ID with your own ids; the steps below show where to find them.
| Block | Shortcode | What it shows |
|---|---|---|
| Viewer | [simplio3d block="viewer" project="PROJECT-ID"] | The interactive 3D view, with its toolbar, AR and dimensions |
| Options | [simplio3d block="options" project="PROJECT-ID" option="OPTION-ID"] | One option, such as a material, a size or a toggle. Use one widget per option. |
| Price | [simplio3d block="price" project="PROJECT-ID"] | The live price |
| Summary | [simplio3d block="summary" project="PROJECT-ID"] | The configuration in plain words |
| Submit / Add to Cart | [simplio3d block="action" project="PROJECT-ID"] | A quote request form, or an Add to Cart button (see below) |
From an empty page to a working configurator.
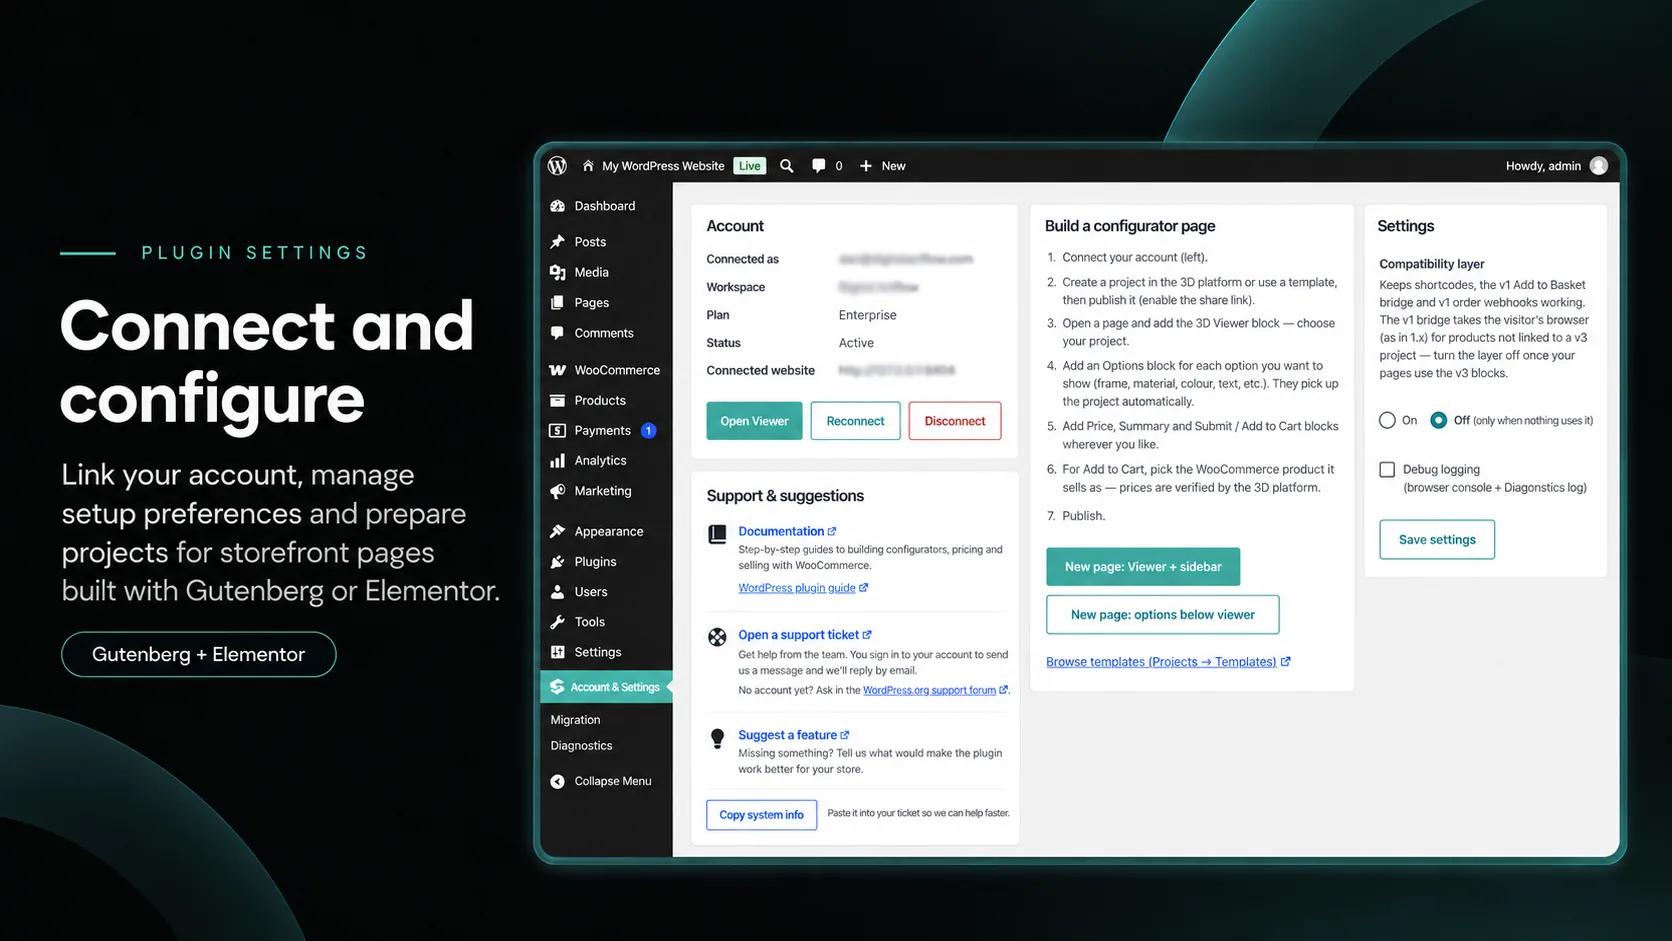
The project id is the 36-character code that follows /share/ in your share link, or /project/ in the address bar when the project is open in the Simplio3D editor. If the project is new or was just published, click Simplio3D → Diagnostics → Test connection once in WordPress so your site knows about it.
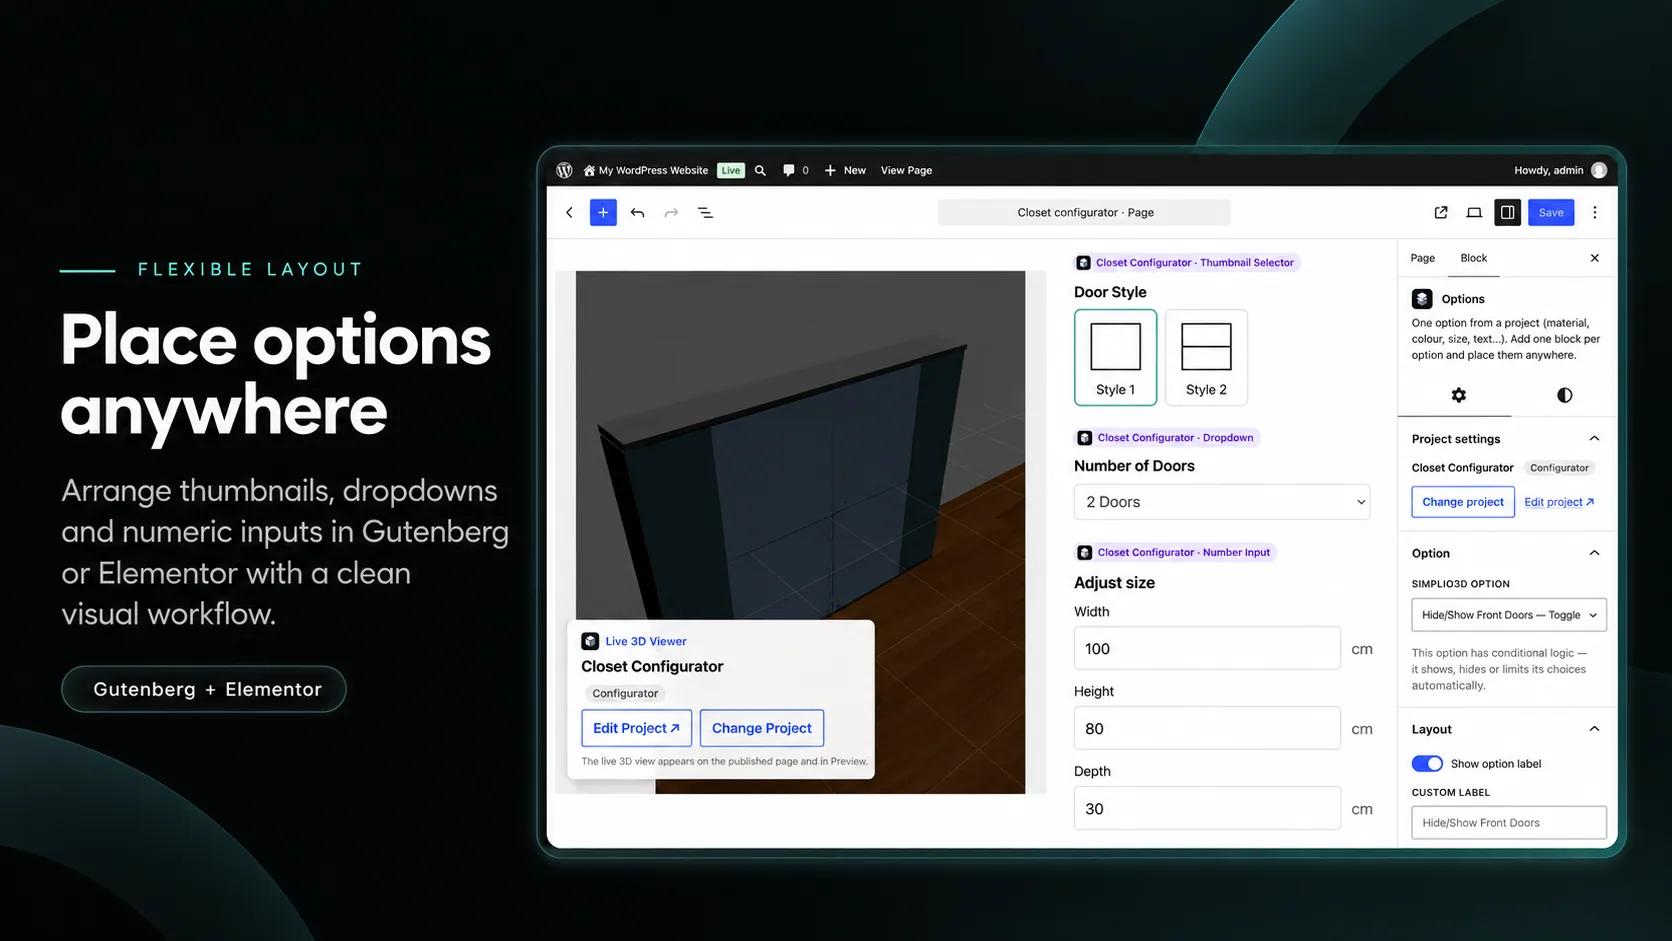
Option ids are not shown in Simplio3D, so let the plugin write the shortcodes for you. Go to Simplio3D → Account & Settings → New page: Viewer + sidebar, which creates a draft page with every block in place. Pick your project in the Viewer, choose an option in each Options block and set them up as you want. Then use Copy shortcode (block settings → Simplio3D advanced) on each block: it includes every setting you changed. Keep the draft unpublished as your list of ids.
Open your page with Edit with Elementor and add a container with two columns, about 60% and 40%. On older Elementor sites, use a Section with two columns.
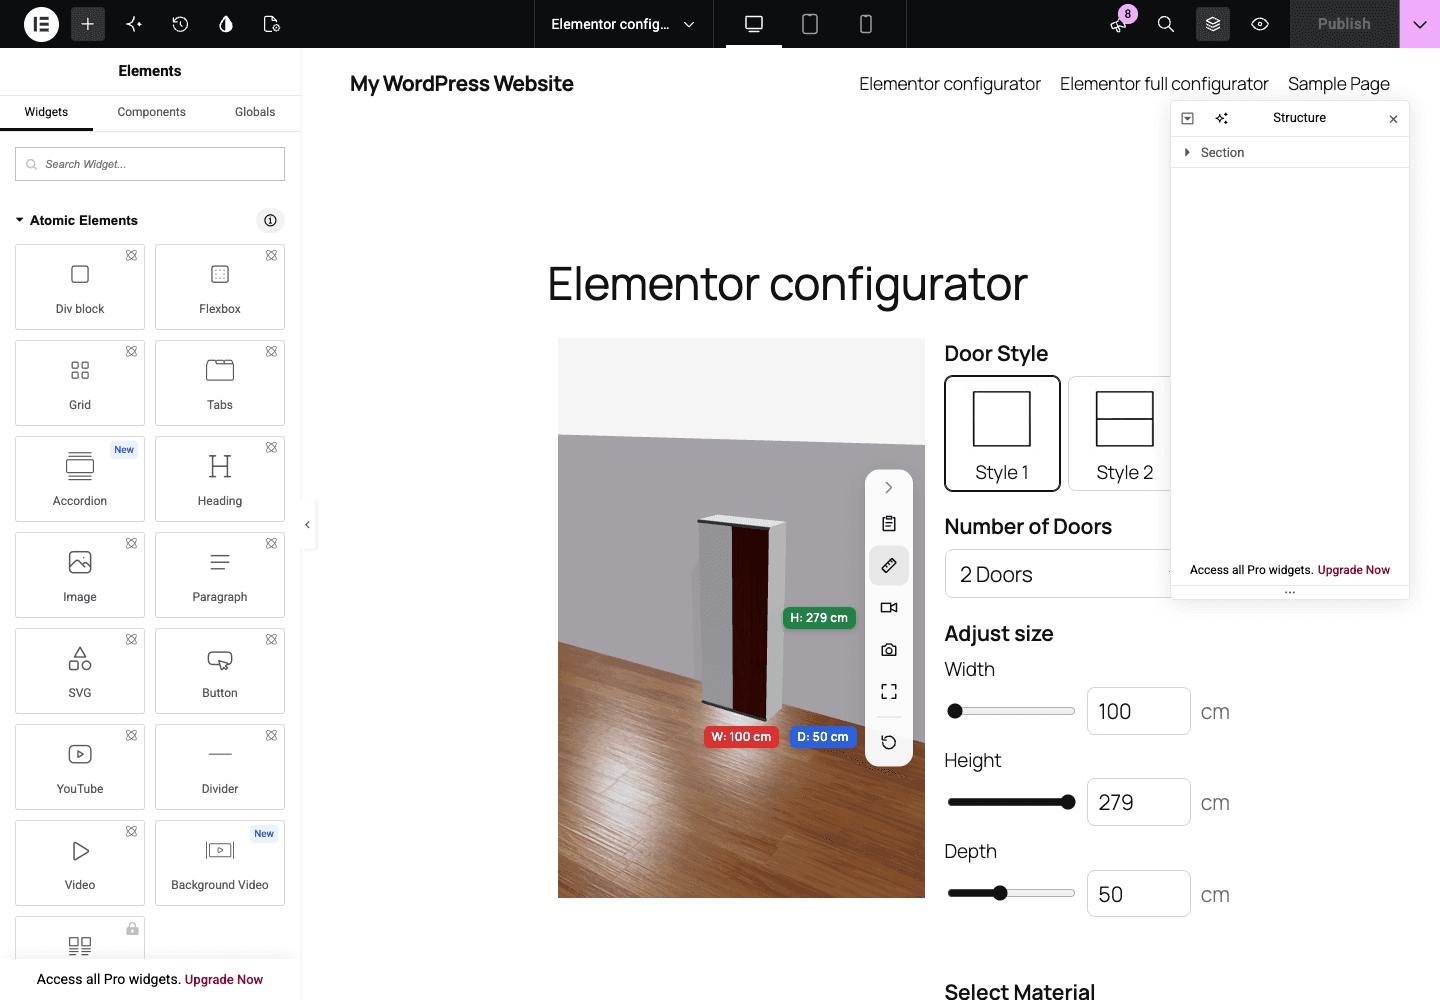
Search the Elements panel for Shortcode, drag the widget into the left column and paste the Viewer shortcode. After a moment the 3D view appears, live, in the editor preview.
In the right column, add one Shortcode widget for each option, then one each for Price, Summary and Submit or Add to Cart. Every widget with the same project shares one live configuration, and separate widgets let you reorder, space and hide each piece with Elementor’s own controls.
Publish, open the page and change each option: the 3D view, price and summary should update together. Check Elementor’s mobile preview and a real phone as well; the widgets stack and the viewer switches to its mobile height.
In the block editor, choosing a product in the Add to Cart block links it to your project. A shortcode can’t do that, so link the product yourself first:
post=123 in the edit screen’s address bar.[simplio3d block="action" project="PROJECT-ID" mode="cart" product="123"]. Add quantity_mode="selector" to let shoppers choose a quantity, and after_add="cart" to take them to the cart.The cart, checkout, order emails and WooCommerce → Orders then show the configuration, a picture of it and the verified price.
A product linked with the Simplio3D price can only be bought through the configurator, so WooCommerce’s normal Add to cart button on its product page asks shoppers to configure it first. With free Elementor, keep the configurator on its own page and link to it from the product, for example with a “Configure yours” link in the short description. With Elementor Pro, you can build a Single Product template that uses the Simplio3D Shortcode widgets instead of Elementor’s Add to Cart widget; preview that setup before you go live.
Add settings inside the shortcode, with straight quotes and underscores. Copying from Word, Google Docs or Slack can turn quotes curly, and WordPress then ignores the setting.
height="620px" mobile_height="400px" on the Viewer sets its height on desktop and on screens up to 781 px wide.loading="eager" on a Viewer at the top of the page loads it straight away instead of when it scrolls into view.layout="dropdown" on an Options widget switches its choices to a dropdown. grid, list and buttons also work, depending on the option type.columns="4" thumbnails="small" fits more choices on each row.prefix="From" tax_display="exclude" on the Price adds text before it and shows the price before tax, which matches the WooCommerce cart.summary_mode="compact" hide_defaults="yes" on the Summary puts each option on one line and skips the ones left at their default.display="hosted" on the Viewer shows the full Simplio3D configurator, options included, in a single widget, with no option ids needed.instance="oak" on every widget of a set keeps two configurators on one page apart. Widgets with the same instance share one configuration.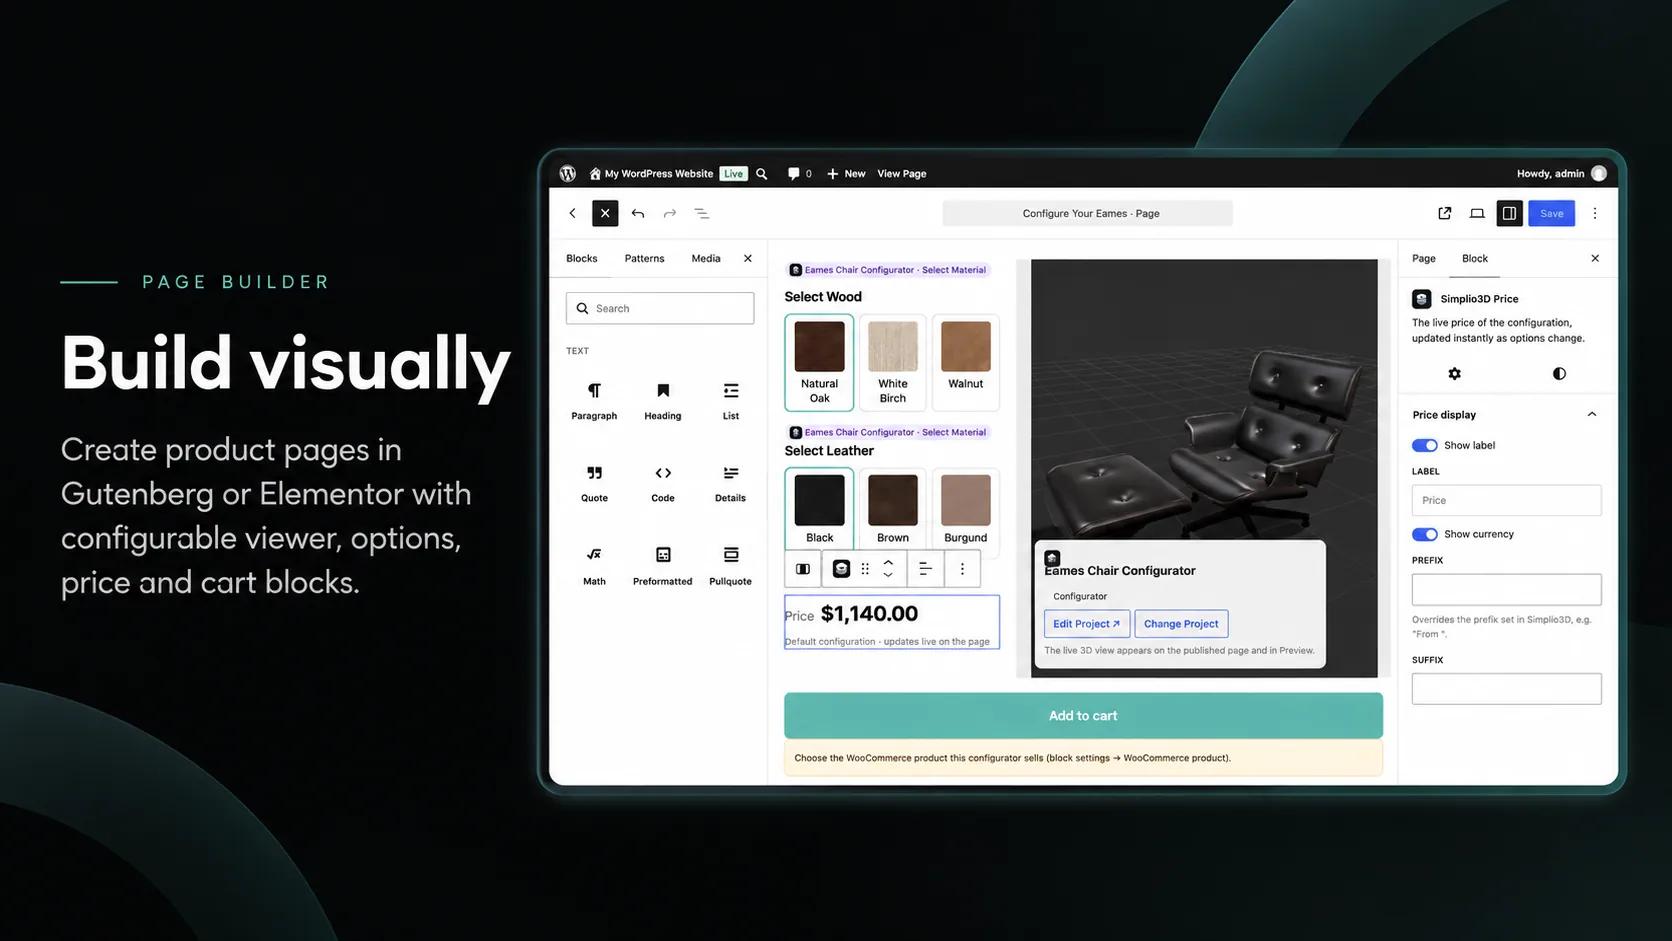
.simplio3d-block { --s3d-accent: var(--e-global-color-accent); }--s3d-radius for corners, --s3d-thumb for thumbnail size and --s3d-button-bg for the button. To style one widget only, add class="my-finish" to its shortcode and target .my-finish in your CSS.The plugin is not active, or the shortcode name is wrong. Use [simplio3d …], not [simplio3d_configurator …], which is the Legacy shortcode.
The site is still in Legacy mode (switch under Simplio3D → Migration), or the block name is misspelt. It must be viewer, options, price, summary or action.
Only editors see these hints. “Select a project for this block” means the project id is missing or incomplete: look for curly quotes, a partial id or a leftover PROJECT-ID. “Choose which option this block shows” means the Options widget has no option id.
The project isn’t published (Share → share link on, no password), or WordPress doesn’t know it yet. Click Simplio3D → Diagnostics → Test connection, then reload the page.
The widgets don’t share a configuration. Check that the project id, and the instance if you use one, are identical in every widget, and that each configurator has exactly one Viewer.
The product isn’t linked on its Simplio3D tab, isn’t a simple product, has no price, or the product id is wrong. Simplio3D → Diagnostics tells you which.
Add tax_display="exclude" to the Price widget. The price before tax matches the WooCommerce cart.
No. The free Shortcode widget is all you need. Popups, tabs, accordions, loop grids and Theme Builder templates aren’t covered by the plugin’s automated tests, so preview those before you go live.
It keeps working in Elementor’s Shortcode widget while the site is in Legacy mode, and Simplio3D → Migration finds those shortcodes inside Elementor pages too. After you switch to v3, replace each one with the widgets described above.
How Simplio3D passes the configured price, the configuration and a picture of it to the WooCommerce cart.
How a project goes from a 3D model to options, conditional logic and pricing before it reaches your site.
Nutzen Sie einen 3D-Produktkonfigurator, um den Verkauf zu steigern und direkt über Ihre Website Angebote zu erstellen.
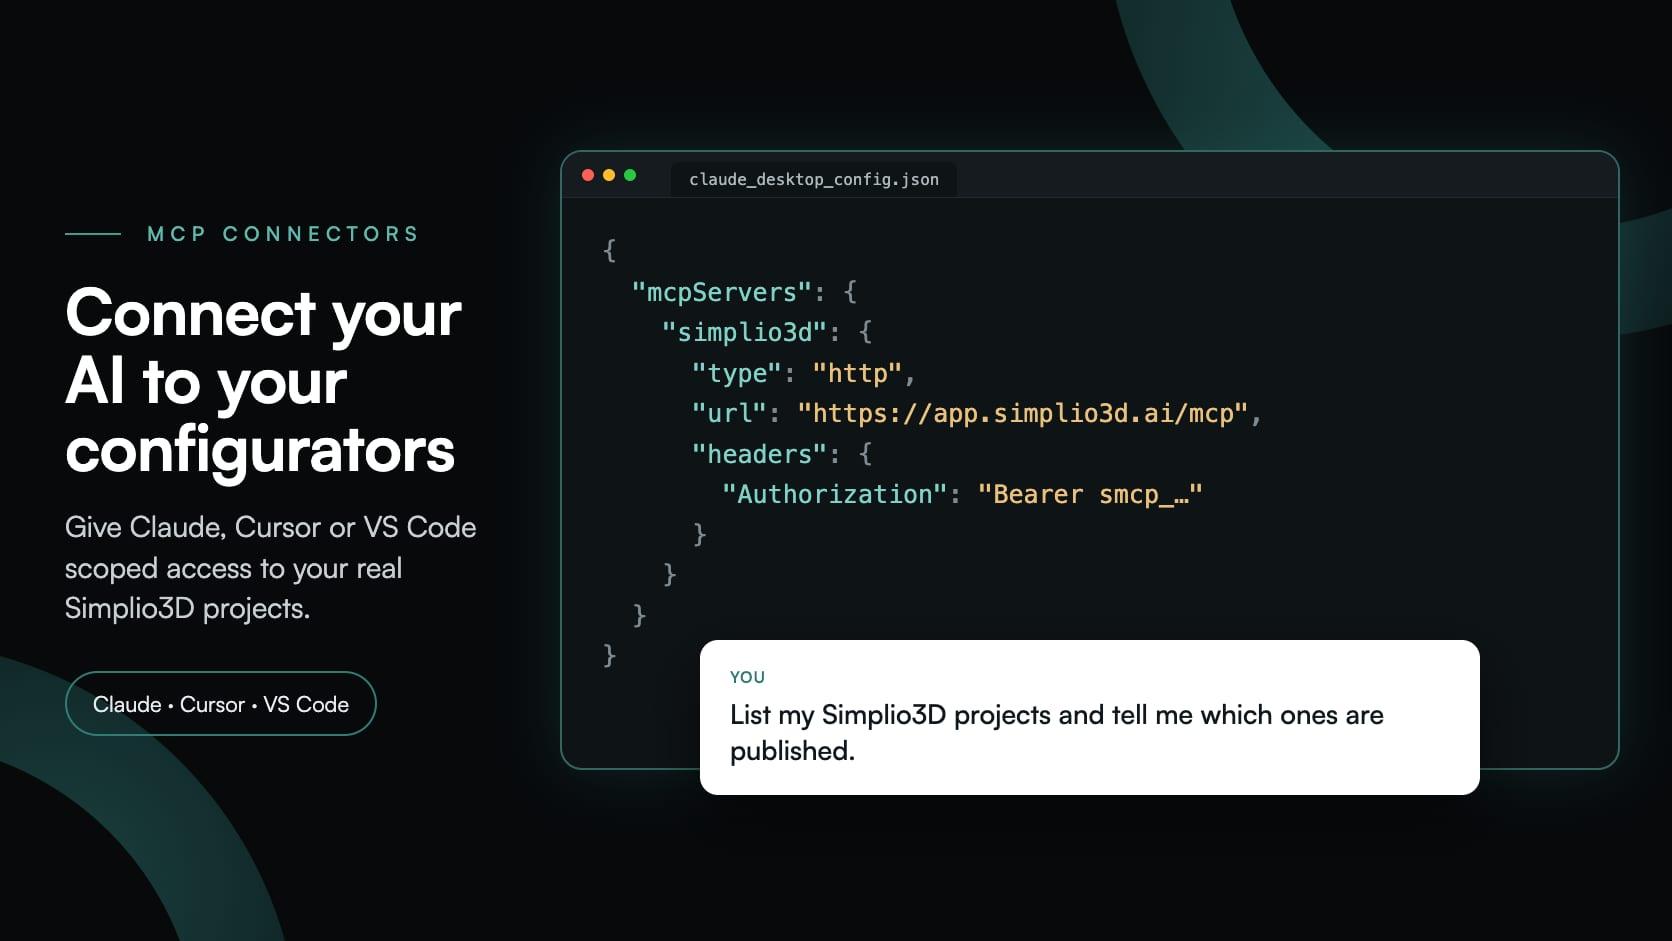
What MCP connectors are and how to connect Claude, Cursor or VS Code to Simplio3D: scopes, approval for risky changes, and prompts that audit configurators.
Die Entscheidungen, die darüber bestimmen, ob ein Konfiguratorprojekt erfolgreich ist: Anforderungen definieren, Projekttyp wählen, Optionen, Logik und Preise erstellen – und wo KI heute die Arbeit übernimmt.

Integrieren Sie einen 3D-Produktkonfigurator in WordPress und ermöglichen Sie Ihren Kunden, ihr konfiguriertes Produkt direkt mit dem nach Ihren eigenen Regeln berechneten Preis in den WooCommerce Warenkorb zu legen.